
ContentBuilder.js · Guide
Using ContentBuilder.js in Plain HTML
ContentBuilder.js is a JavaScript library for creating elegant, editorial-style web content with simple drag and drop. In this guide we add it to a plain HTML page: no framework, no build step and no backend. First we embed the editor, then we add saving, uploads and a page that shows the saved content to visitors.
ContentBuilder comes in two parts:
ContentBuilder
The editor, used on the page where content is created.
ContentBuilder Runtime
Renders the saved content on your site. It makes interactive blocks (sliders, counters, charts, accordions and more) work, both while editing and when viewing.
In this guide
- Set up the folder
- Embed the editor and the runtime
- Add saving and uploads
- Show the content to visitors
- Try it
Step 1
Set up the folder
Create a folder for your site. The files you need are in the ContentBuilder.js ZIP package, which you can download from your user area. From the package's public/ folder, copy these into your folder:
my-site/
├── contentbuilder/  # the editor
├── runtime/         # the runtime
├── assets/          # snippets, fonts, plugins
└── preview.html     # Live Preview page
The pages must be opened from a web server, not by double-clicking the file: browsers don't load the interactive blocks from a file opened that way. No backend is needed. Any web server works: your hosting, XAMPP, MAMP, or the Live Server extension in VS Code. You can also start one in the folder, with Node.js:
cd my-site
npx serve -l 8000
Or with PHP:
cd my-site
php -S localhost:8000
The steps below use http://localhost:8000. With another server, use its address instead.
Step 2
Embed the editor and the runtime
Create edit.html:
<!DOCTYPE html>
<html lang="en">
<head>
    <meta charset="utf-8">
    <meta name="viewport" content="width=device-width, initial-scale=1">
    <title>Edit</title>
    <link href="contentbuilder/contentbuilder.css" rel="stylesheet">
    <link href="runtime/contentbuilder-runtime.css" rel="stylesheet">
</head>
<body>
    <div class="container" style="max-width: 840px; margin: 140px auto; padding: 0 20px"></div>

    <script src="contentbuilder/contentbuilder.min.js"></script>
    <script src="runtime/contentbuilder-runtime.min.js"></script>
    <script>
        // The folder this page is in, so the files are found with or without a server
        const basePath = location.href.substring(0, location.href.lastIndexOf('/'));

        // Create the editor on the .container element
        const builder = new ContentBuilder({
            container: '.container',
        });

        // Load the blocks users can drag in
        builder.loadSnippets('assets/minimalist-blocks/content-plugins.js');

        // Load the content to edit
        builder.loadHtml(`
            <div class="row">
                <div class="column">
                    <h1>Hello World</h1>
                    <p>Start editing your content here.</p>
                </div>
            </div>`);

        // Start the runtime, so interactive blocks work while editing
        const runtime = new ContentBuilderRuntime({
            pluginFolder: basePath + '/assets/plugins/',
        });
        runtime.init();

        // Make the runtime available to the editor
        window.builderRuntime = runtime;
    </script>
</body>
</html>
The runtime makes interactive blocks (sliders, counters, charts, accordions and more) work while you edit. pluginFolder tells it where the plugins are. A plugin's files are loaded only when the content uses it.
Open http://localhost:8000/edit.html. You have a working editor: click the text to edit it, and drag blocks in from the panel on the right, including interactive ones like a countdown or a chart.
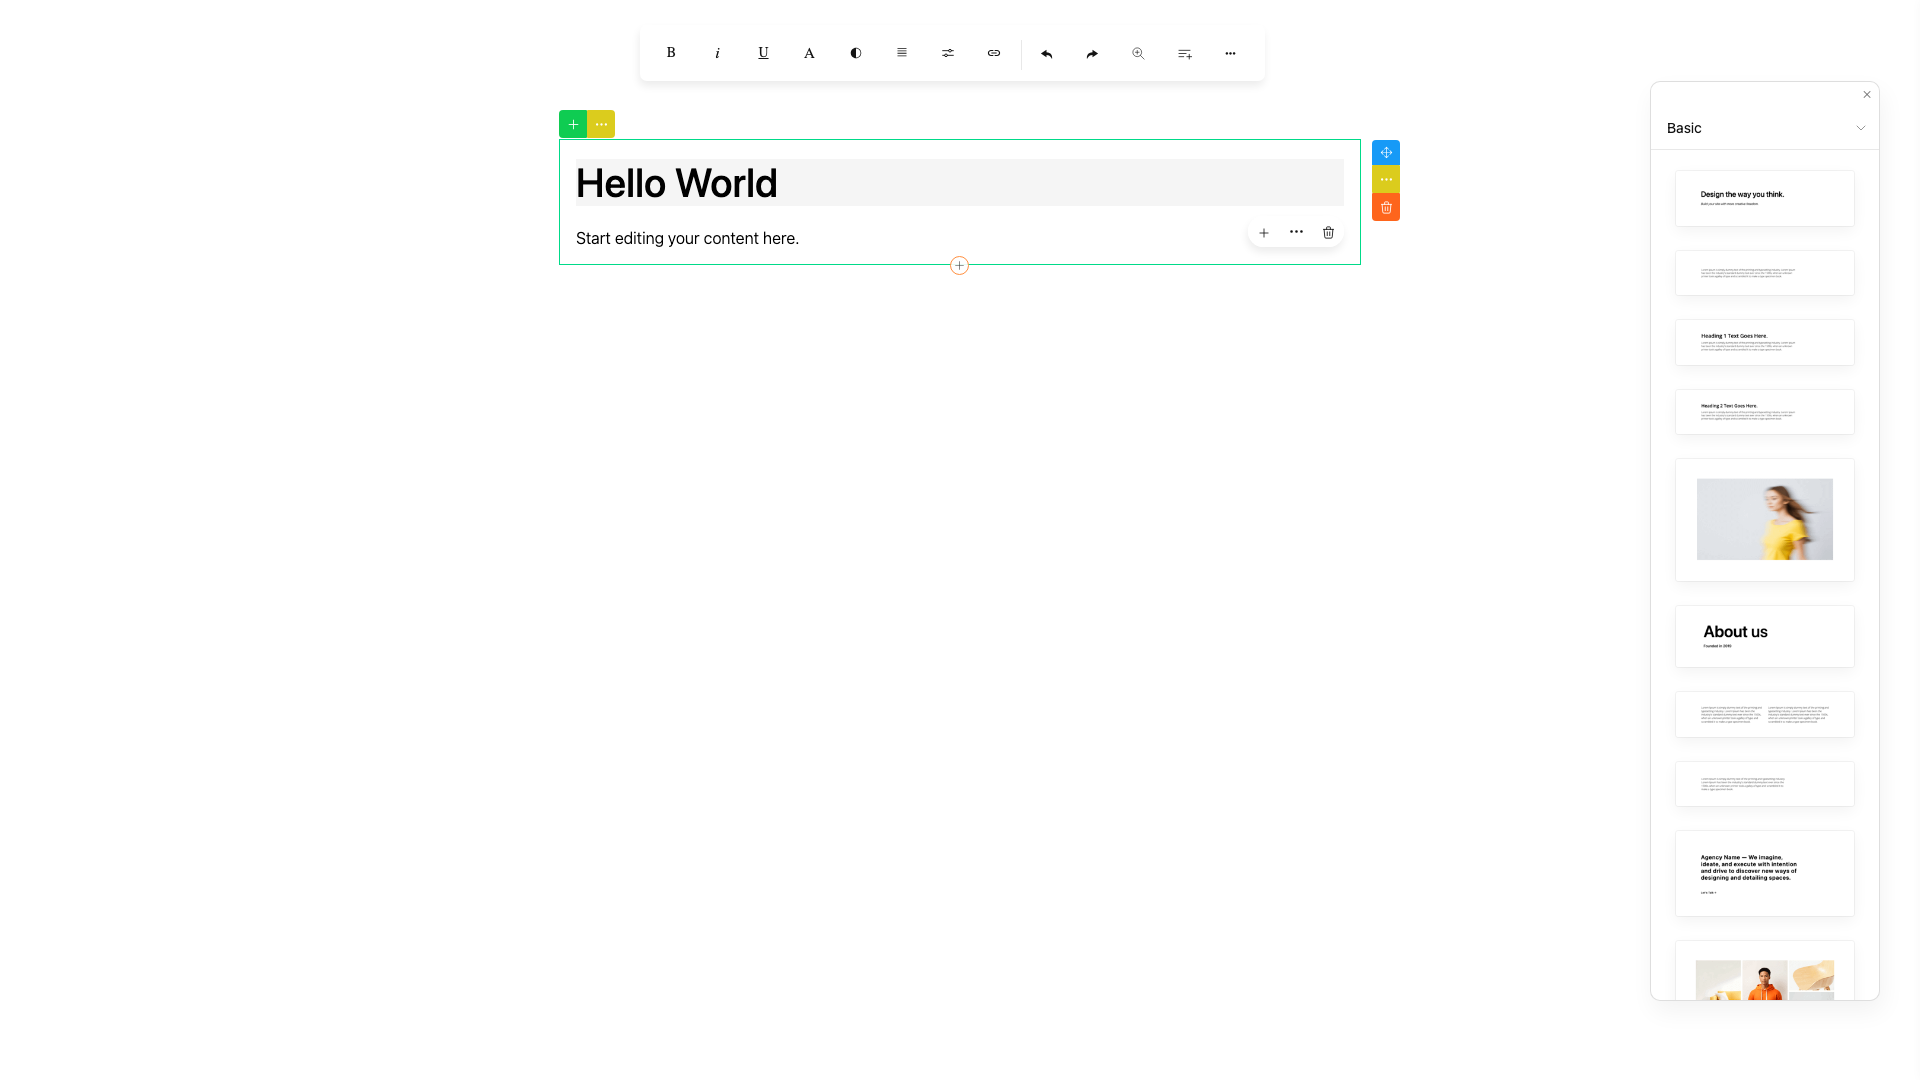
The editor after step 2. Click the text to edit it, and drag blocks in from the panel.
Step 3
Add saving and uploads
Now let's add saving and uploads. Replace edit.html:
<!DOCTYPE html>
<html lang="en">
<head>
    <meta charset="utf-8">
    <meta name="viewport" content="width=device-width, initial-scale=1">
    <title>Edit</title>
    <link href="contentbuilder/contentbuilder.css" rel="stylesheet">
    <link href="runtime/contentbuilder-runtime.css" rel="stylesheet">
</head>
<body>
    <div class="container" style="max-width: 840px; margin: 140px auto; padding: 0 20px"></div>

    <div style="position: fixed; top: 20px; right: 20px; display: flex; gap: 8px">
        <button id="btnHtml">HTML</button>
        <button id="btnView">Preview</button>
        <button id="btnSave">Save</button>
    </div>

    <script src="contentbuilder/contentbuilder.min.js"></script>
    <script src="runtime/contentbuilder-runtime.min.js"></script>
    <script>
        const basePath = location.href.substring(0, location.href.lastIndexOf('/'));

        const DEFAULT_CONTENT = `
            <div class="row">
                <div class="column">
                    <h1>Hello World</h1>
                    <p>Start editing your content here.</p>
                </div>
            </div>`;

        // Upload handler: send the file to your server and return { url }.
        // Without a server, the file can be embedded as a data URL, as here.
        function upload(file) {
            return new Promise((resolve, reject) => {
                const reader = new FileReader();
                reader.onload = () => resolve({ url: reader.result });
                reader.onerror = reject;
                reader.readAsDataURL(file);
            });
        }

        // Create the editor
        const builder = new ContentBuilder({
            container: '.container',
            previewURL: 'preview.html', // enables the Live Preview button
            upload,                     // handles image, video, audio and file uploads
        });

        // Load the blocks users can drag in
        builder.loadSnippets('assets/minimalist-blocks/content-plugins.js');

        // Load saved content, or the default the first time
        builder.loadHtml(localStorage.getItem('savedContent') || DEFAULT_CONTENT);

        // Start the runtime, so interactive blocks work while editing
        const runtime = new ContentBuilderRuntime({
            pluginFolder: basePath + '/assets/plugins/',
        });
        runtime.init();
        window.builderRuntime = runtime;

        function save() {
            localStorage.setItem('savedContent', builder.html());
        }

        document.querySelector('#btnHtml').addEventListener('click', () => builder.viewHtml());
        document.querySelector('#btnView').addEventListener('click', () => {
            save();
            window.open('view.html', '_blank');
        });
        document.querySelector('#btnSave').addEventListener('click', () => {
            save();
            alert('Content saved!');
        });
    </script>
</body>
</html>
What's new
- Saving:
html()returns the edited content. Here it is kept in the browser'slocalStorage, andloadHtml()loads it back the next time. - Uploads:
uploadis one function for all media. It must return an object with at least{ url }. - Buttons: HTML opens the code view, Save saves, and Preview saves and opens the viewing page, which we add next.
- Live Preview:
previewURLadds a preview button to the editor, which usespreview.html.
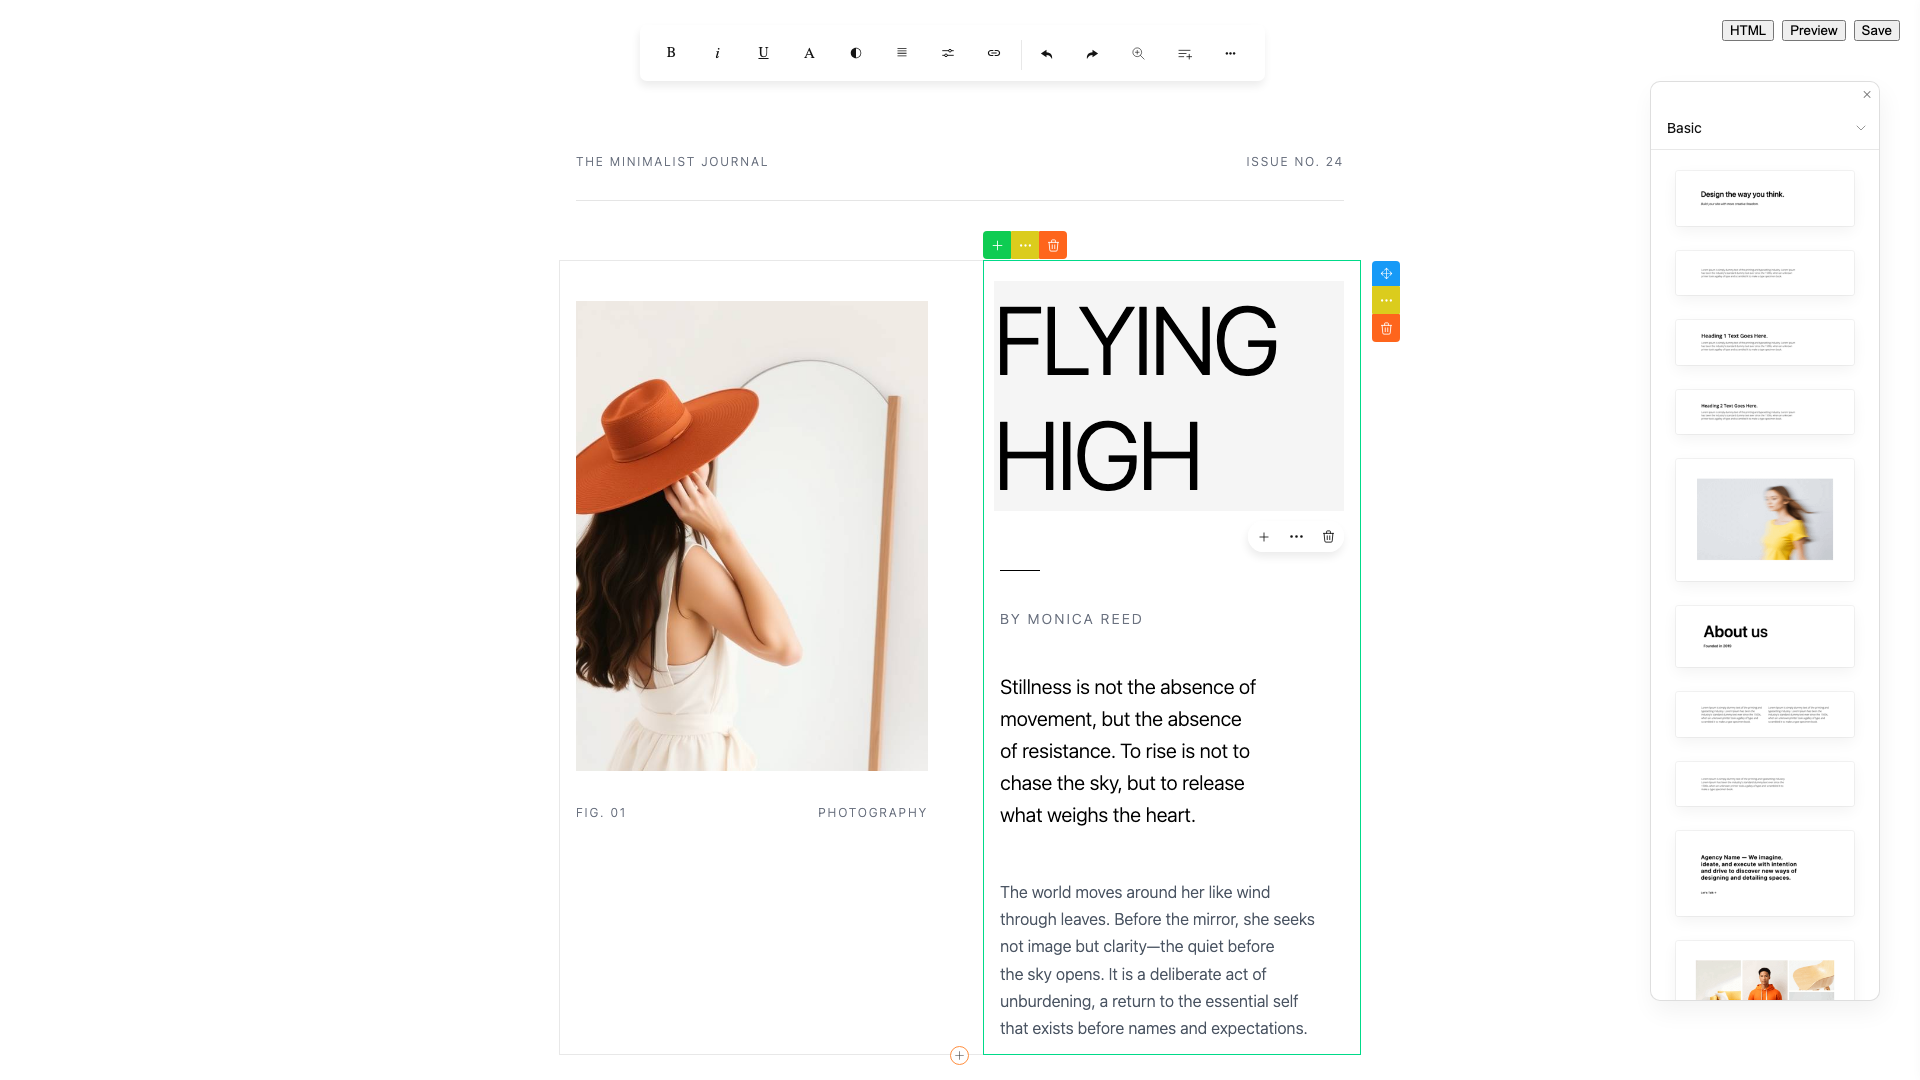
Saved content loads back into the editor the next time you open it.
Step 4
Show the content to visitors
The viewing page needs only the runtime, not the editor.
Create view.html:
<!DOCTYPE html>
<html lang="en">
<head>
    <meta charset="utf-8">
    <meta name="viewport" content="width=device-width, initial-scale=1">
    <title>View</title>
    <link href="runtime/contentbuilder-runtime.css" rel="stylesheet">
</head>
<body>
    <!-- is-container is required for content styling -->
    <div class="is-container" style="max-width: 840px; margin: 80px auto; padding: 0 20px"></div>

    <script src="runtime/contentbuilder-runtime.min.js"></script>
    <script>
        const basePath = location.href.substring(0, location.href.lastIndexOf('/'));

        // Insert the saved content. createContextualFragment (instead of innerHTML)
        // lets scripts inside the content run.
        const container = document.querySelector('.is-container');
        const savedHtml = localStorage.getItem('savedContent') || '<p>No content available.</p>';
        container.appendChild(document.createRange().createContextualFragment(savedHtml));

        // Activate interactive blocks
        const runtime = new ContentBuilderRuntime({
            pluginFolder: basePath + '/assets/plugins/',
        });
        runtime.init();
    </script>
</body>
</html>
Important: the viewing container must have the is-container class.
Step 5
Try it
Open http://localhost:8000/edit.html, drag in some blocks and click Save. Click Preview to see the saved content on the viewing page.
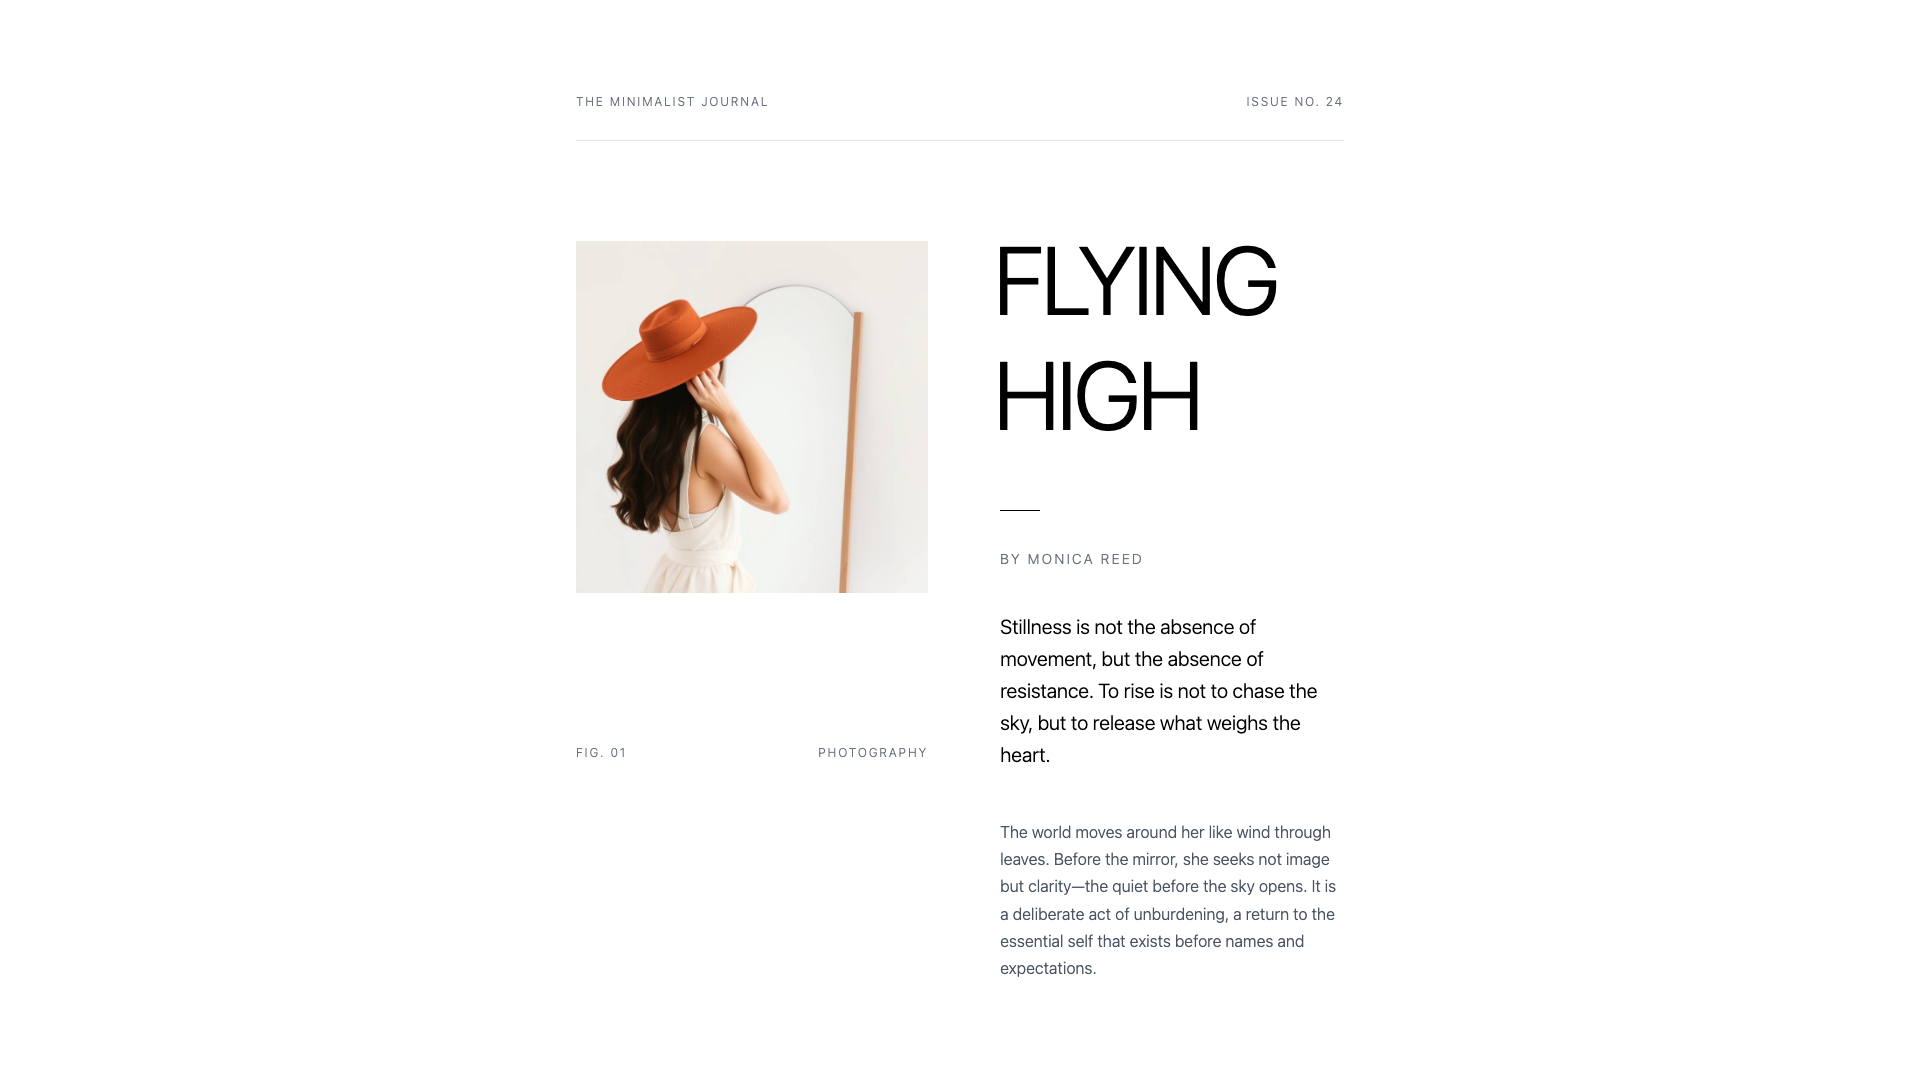
The viewing page shows the saved content to visitors.
Going to production
- Saving:
localStoragekeeps the content in one browser only. To publish it, send it to your server and save it there. The PHP version of this guide shows how. - Uploads: send files to your own endpoint (your server, S3 or any storage) and return
{ url }.
Resources
- ContentBuilder.js innovastudio.com/contentbuilder
- Documentation innovastudio.com/docs/contentbuilder